You might stay in denial, but Iron-on patches are a great way to breathe soul into dull apparel like jeans, bags, jackets or even mobile cases! The creativity possibilities with such cotton badges are unconfined, and one can break all barriers of imagination to harness the maximum out of these thread creations. If you are lazy, you can simply shop online and grab those boring cotton badges. But if you are someone who likes to try to experience innovation in everything – this article can be a blessing for you.
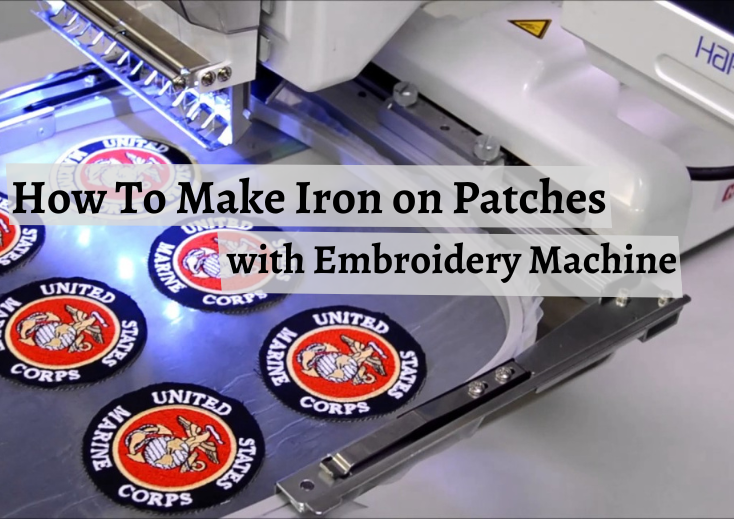
In this guide, we are going to unleash the best way you can make iron-on patches using the embroidery machine.
“Whoops – aren’t embroidery machine and adhesive cotton badges two different things?”
Yes, they are – but recall what we said above? “Innovation.” So, trust us, this is going to be a great experience, and you’d love the outcomes.
Material Required To Get Started:
Equipping yourself beforehand the process begins can rescue you from the hassle of rummaging all over your home or studio. Gather the mentioned material before you begin making custom embroidered patches with iron-on backing:
Hoop
Scissor
Snips for clean up
Head and bond adhesive
Temporary adhesive spray
Two sheets of aqua top topping
One piece of twill
One piece of cutaway
A piece of clothe
Iron
Don’t forget to keep your design ready that you want to achieve on the fabric.
Gathered the stuff? Cool! Now let’s begin the real game.
Step-By-Step Guide To Make Iron On Patches With Embroidery Machine
- Pick up your twill and cutaway stabilizer, layer the twill over the cutaway, and hope it together in the hoop. Make sure all sides of the hoop are neat and tight so there are no loose ends.
- Once the hoop is ready, put it in your embroidery machine and let the machine do its job.
- While the machine performs its role, make sure you stop it before the final tack down stitch.
- After you have achieved the unfished embroidered custom iron on patches or patch, stop the machine the right way and unhook the incomplete-stitch design. At this stage, your patch doesn’t have borders.
- Cut out the stitched embroidered patch carefully. You do not need to cut it on the stitches, neither till the dread ends. It’s fine if some pieces of fabric are still left out, as they’d be covered up in upcoming steps.
- Now you have the patch material ready! Hoop two aqua top stabilizer sheets together. In this step, we will create neat and sealed edges for the cotton badge.
- Take the hoop to the machine, and begin from where you started using the running stitch. If you are using a manual embroidery machine, you need to be a little more alert, as you need to stop the machine right after the first colour stops. This step helps in marking the placement of the borders so the end results are clean and tidy.
- On the other hand, grab the temporary adhesive spray and apply it to the back of your patch. The trick is to apply it in optimum quantity – neither too less nor too much, as both of them would result in unfavourable results.
- Offset your hoop frame and nicely place the sprayed cut-out patch within the borders that have been marked.
- Put your hoop frame back in, and let the machine complete its role. At this step, you’d be achieving the final and finished version of the iron on patches, with perfected borders.
- Great! Now you have the finished product in your hand. But it’s still not ready as it doesn’t have the iron-on backing. Unhook the frame, and your cotton badge will pop out instantly. Do the cleaning using the snips just to refrain from excessive threads.
- Take off both layers of Aqua topping backing that we added in previous steps.
- Now grab your heat and bond sheet and prepare it to adhere to the cotton badge. To prepare it, cut it out in the shape of your iron-on patch. Custom patches services providers say it’s fine if the heat-and-bond sheet goes slightly smaller than the cotton badge because we don’t want the sheet edges to show up.
- Now simply peel it, and you will get the shiny, sticky part that needs to be stuck on the cotton badge.
- Finally, place your cotton badge on the fabric to which you want to stick it. Then, place a piece of clothing over the iron-on patch and put your iron on it. Provide enough heat, so it gets adhered to your fabric.
And there you go! You finally have the final product ready to help you dazzle your apparel with its unique flair. If you are a first-timer – you might come across several challenges! For example – how to wear iron on patches, or my patch doesn’t stick well, what to do? The worry not, let us help you with that as well.
Challenges (And Solutions) That First-Time Users Come Across
The iron-on patch doesn’t stick well. That’s pretty ok! If your heat-and-seal cotton badge refuses to adhere, look for the root causes. The possible reasons could be that you gave too much heat or failed to provide enough heat. The ideal time for a heat press is 20 seconds. Don’t move around your iron. Keep it firm in one spot.
How to carry these cotton badges? There’s no rule of thumb for carrying them. You can use these personalized creations by adding them to your apparel, bags, hats, jeans, mobile covers, keychains or anything else.
On which material iron-on patches work best? Polyester, blends, cotton, or cotton-polyester are the best candidates for such kinds of cotton badges. However, rayon, leather, vinyl or nylon shirts are not recommended as they cannot withstand heat.
Cutting It Short
There’s no denying that patch-making is not a cup of tea for everyone and requires a skillset to land that perfect piece of cotton badge. But with this guide, you can prepare yourself for the best iron-on patch using the embroidery machine. And guess what? Besides being a new experience, it’s pretty cost-effective as well.
Don’t forget to tell us about how the procedure went, what challenges you encountered and how you overcame them.